
Security Camera Placement Seattle starts with deciding what each recording must show. A camera can cover an entire entrance area yet leave a person’s face too small to review. Another can provide a sharp close-up while missing the route someone took through the property. Useful coverage requires the right view in the right place, not simply more cameras.
For a home, storefront, office, or shared building entrance, plan the layout before choosing mounting points and cable routes. This guide explains how to define coverage, account for lighting and obstructions, and test the recorded result. CamNetLink provides security camera installation in Seattle for residential and commercial properties.
Security Camera Placement Seattle: Start With a Coverage Plan
Draw a simple floor plan or use photographs of the property. Mark entrances, pedestrian approaches, gates, delivery areas, and other locations where video would answer a specific question. Then assign a purpose to each proposed view.
“Watch the front of the building” is a broad request. “Show people approaching the customer entrance and provide a useful face view as they reach the door” gives the installer two concrete objectives to assess.
For each location, record:
- Activity: what event or movement should the camera capture?
- Detail: is an overview sufficient, or must a person or object be identifiable?
- Distance: where will the subject be when that detail is needed?
- Conditions: what changes when doors open, vehicles park, or lighting switches off?
- Exclusions: which areas should remain outside the recorded view?
This information is more useful for comparing proposals than a camera count alone. It also provides a clear basis for testing the installation.
Separate Overview Coverage From Identification Detail
An overview helps explain movement and the sequence of an event. A focused view provides more detail within a smaller area. One camera may satisfy both objectives in a suitable scene, but that should be demonstrated rather than assumed.
| Location | Useful recording objective | Question to check on site |
|---|---|---|
| Customer entrance | Approach activity and usable views of people entering | Does the doorway view retain detail when someone moves through it? |
| Driveway or parking approach | Vehicle movement and context | Is plate capture a separate requirement? |
| Side gate or service door | Movement through the access point | Do open gates or parked vehicles block the intended view? |
| Lobby or shared corridor | Movement between entrances and circulation areas | Do furniture, queues, or door swings obscure the route? |
General vehicle footage should not be presented as reliable license plate capture without evaluating that task separately. Likewise, a panoramic view may be useful for understanding activity while lacking sufficient detail at a distant doorway.
Match the Lens and Viewing Distance to the Task
The lens determines how much of the scene appears in the image. With the same camera and subject distance, widening the view spreads the available image detail across a larger area. A narrower view concentrates detail but leaves more of the surrounding scene outside the frame.
Ask the installer to demonstrate the proposed view at the distance that matters. A person standing beside the camera does not show how someone will appear at the far end of a walkway.
A varifocal lens allows the viewing angle to be adjusted within its supported range. This can help refine coverage, but the selected setting still needs appropriate focus and testing. Digital enlargement of an existing recording cannot recover detail that was never captured.
Resolution is therefore part of the design, not a substitute for it. Evaluate the camera, lens, distance, lighting, and recording settings together.
Choose Mounting Height and Angle for the Recorded View
There is no single mounting height that suits every property. A high position can make a camera harder to reach and provide a broad view, yet a steep downward angle may show the tops of heads rather than useful facial detail.
A lower or differently positioned entrance view may improve the angle, but it must also be assessed for accidental damage, interference, and suitable mounting protection. The installation should balance these requirements instead of following a universal height rule.
Before finalizing a location, check:
- Whether the wall, soffit, or mounting surface supports the proposed hardware.
- Whether people approach facing toward, across, or away from the camera.
- Whether the view remains useful when doors and gates are fully open.
- Whether a column, sign, shelf, or seasonal display creates an obstruction.
- Whether the camera remains accessible for planned servicing.
Use a safe temporary demonstration or suitable planning tools where practical. A sketch of coverage should be confirmed against the actual scene before permanent installation.
Plan Entrance Lighting and Nighttime Coverage
Bright Backgrounds at Glass Doors
A camera inside a darker entrance can face a bright exterior, making a person appear as a silhouette. Wide dynamic range, or WDR, can help handle that contrast. Its effectiveness still depends on the scene and movement.
Test someone walking through the doorway under relevant daylight conditions. A clear image of an empty entrance is not evidence that the system will retain useful detail on a moving person.
Infrared Reflections and Nearby Surfaces
For cameras with built-in infrared illumination, nearby walls, soffits, glass, and other reflective surfaces can send light back toward the camera. This may create haze or bright areas that reduce the usefulness of nighttime footage.
Check the position after dark rather than relying only on the daytime view. An indoor camera looking through a window needs particular care because reflections can interfere with the intended outdoor image.
Weather Exposure and Changing Light
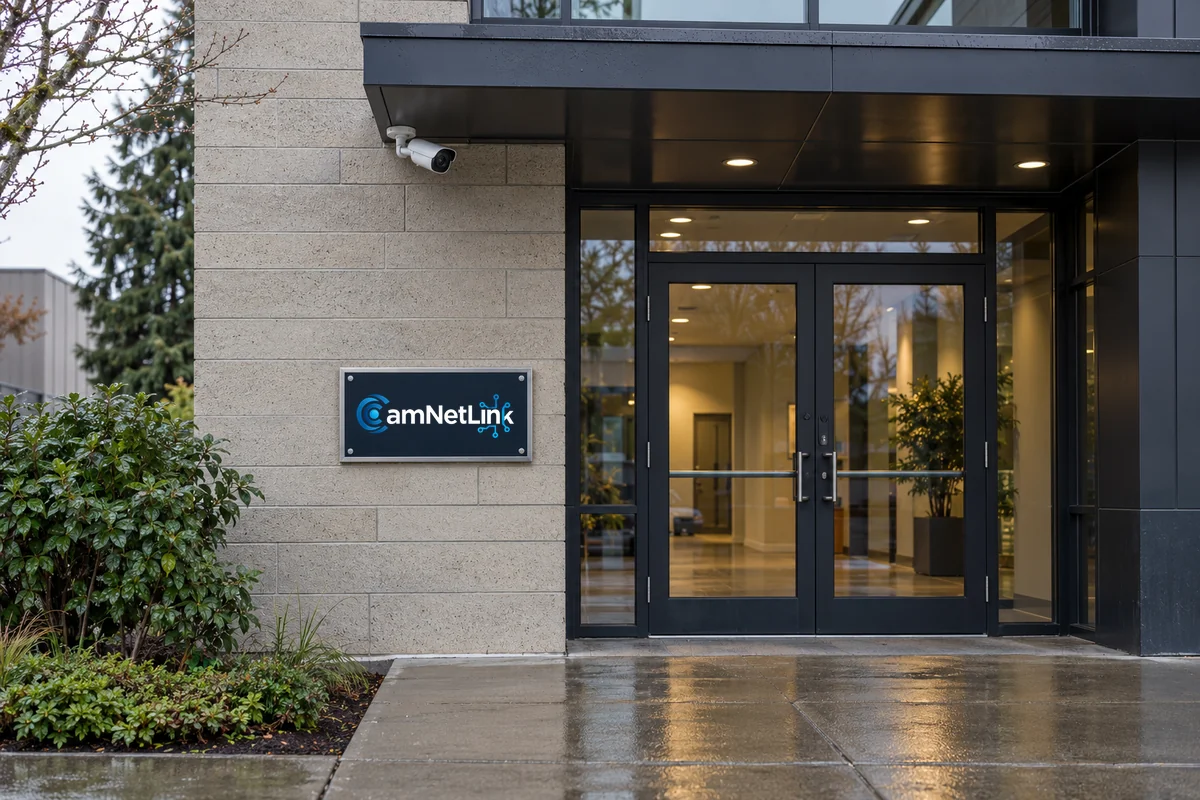
For a Seattle exterior installation, assess the actual exposure to rain, wind-driven moisture, and changing daylight. A sheltered mounting point can reduce exposure, but an awning or eave must not obstruct the view or interfere with illumination.
Select equipment and mounting accessories approved for the environment. Also consider whether landscape lighting, neighboring lights, or vehicle headlights change the scene after normal business hours.
Keep Privacy Exclusions in the Layout
Decide which areas should not be recorded before approving the camera position. Avoid unnecessary views into neighboring windows, confidential work areas, or spaces unrelated to the intended purpose.
Start by adjusting placement and framing. Where the equipment supports privacy masks, these can conceal selected parts of the image. Verify their effect in the actual live view, recording, and export workflow; do not assume that hiding an area in one display hides it everywhere.
Document the approved exclusions and recheck them after changes to camera direction or zoom. Audio recording is a separate feature and should not be enabled simply because a camera includes a microphone.
Coordinate Coverage With Cabling and Power
Choose the useful view first, then assess how to provide a reliable connection at that location. Moving a camera to the easiest cable exit can leave the system watching the wrong part of the property.
Many IP cameras use compatible Power over Ethernet equipment for network connectivity and power. Route length, cable protection, terminations, switch capacity, and outdoor exposure need to be included in the installation scope.
For wireless cameras, assess connectivity at the final mounting point and confirm how power is supplied. A wireless connection does not automatically remove the need for power cabling or charging arrangements.
CamNetLink’s camera installation and network infrastructure services include related cabling work. Confirm the equipment and work included in your project proposal.
A Practical Security Camera Coverage Planning Example
Consider a small business with a glass customer entrance and a separate delivery door. This is an illustrative planning example, not a description of a completed CamNetLink project.
- Define the entrance objective: distinguish an overview of the approach from the detail needed at the doorway.
- Check the proposed angle: have someone follow the normal entry route and assess whether the relevant view is obstructed.
- Assess the delivery area: repeat the check with the door open and a vehicle in its usual unloading position.
- Review exclusions: identify neighboring windows or unrelated work areas that should remain outside the view.
- Confirm the infrastructure: evaluate cable routes, power, recording equipment, and installation access.
- Test recordings: review both locations under daytime and after-hours lighting before accepting the layout.
The resulting camera count follows the required views. It is not decided by a generic package or the number of corners on the building.
Security Camera Placement Seattle: Acceptance Checklist
Before project handover, compare the recorded result with the agreed objectives:
- Record a person walking through each intended coverage area at normal speed.
- Check the near and far positions where useful detail is required.
- Repeat relevant checks with doors, gates, and common obstructions in their normal positions.
- Review representative daylight and nighttime recordings.
- Confirm that privacy exclusions remain effective in the intended recordings.
- Retrieve a sample event and check playback of the exported footage.
- Document any coverage limitations, unfinished work, and follow-up lighting tests.
Use recorded footage from the agreed recording configuration. A live preview alone does not demonstrate what will be available when someone later reviews an incident.
What Should a Placement Proposal Include?
Ask for proposed camera positions, intended views, equipment, mounting accessories, cabling, recording configuration, and testing. Clarify whether changes to lighting, additional network equipment, or difficult-access work are included.
When comparing estimates, keep the coverage objectives consistent. A cheaper proposal with fewer focused views may deliver a different result. Resolve these differences before installation rather than after reviewing an incident.
Frequently Asked Questions
Where should security cameras go first?
Begin with locations where footage would answer an important question, such as entrances, access points, and relevant approaches. Prioritize each view according to its purpose, then check the detail and lighting it requires.
Is a corner always the best mounting location?
No. A corner can provide a useful overview, but it may create a poor angle for an entrance or place an obstruction close to the lens. Select the location according to the recorded result.
Can one wide-angle camera replace several cameras?
Sometimes, for an appropriate overview objective. It must still provide the required detail at the relevant distances. A wide view should not be assumed to replace every focused view.
Will 4K resolution fix poor placement?
Higher resolution can help when the rest of the design is suitable. It does not correct an obstructed view, an unsuitable angle, insufficient lighting, or missing coverage.
Should the layout change when the property changes?
Yes, review it when doors, furniture, displays, landscaping, or traffic routes change. Recheck recordings after an adjustment so the system continues to support its intended purpose.
Discuss Your Camera Layout With CamNetLink
For Security Camera Placement Seattle, prepare photographs or a simple plan showing the locations that matter, the activity you want to review, and any existing cameras. CamNetLink can discuss placement and installation requirements for your home or business.
Request a camera installation assessment and estimate, or call (206) 886-4953.