
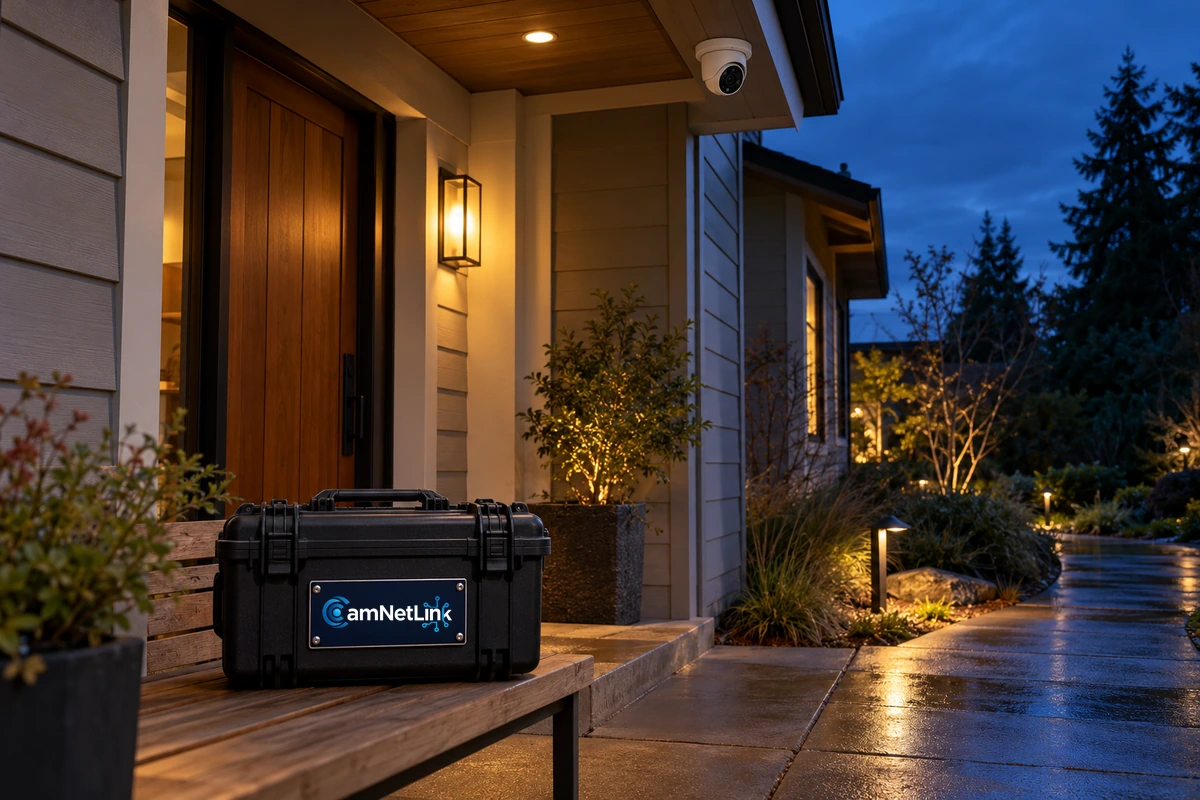
Night Vision Security Cameras Seattle: choose a camera by the recorded detail it preserves after dark. A bright view of an empty driveway can look impressive while a person walking toward the entrance appears blurred or too small to distinguish. The useful question is what you need to see, at which location, under the lighting that will actually remain available overnight.
This guide explains how infrared and color night imaging differ, why movement changes the result, and how to assess a proposed camera before accepting the installation. For a new system, coordinate those decisions with security camera installation in Seattle so camera views, lighting, and recording settings work together.
Night Vision Security Cameras Seattle: Define the Required Detail
Start with a specific task. Seeing that someone entered a yard is different from obtaining a useful view of that person’s face near a doorway. A camera that handles the first task may need a different lens, position, or lighting arrangement to handle the second.
Before comparing equipment, identify:
- The location: a doorway, side passage, driveway entrance, or commercial delivery area.
- The required result: activity awareness, movement through an entrance, or closer detail at a defined point.
- The subject distance: where a person will be when the important detail must be recorded.
- The overnight lighting: fixtures that stay on, switch off, or activate only after movement.
- The recording method: whether the relevant activity is captured continuously or through an agreed event schedule.
Record these requirements in the project scope. They provide a better acceptance target than a general request for a camera that can “see at night.”
Infrared, Low-Light Color, or White-Light Assistance?
Night imaging is not one feature with one predictable result. The following approaches suit different conditions:
| Approach | What it uses | What to evaluate |
|---|---|---|
| Infrared night mode | Near-infrared illumination, often from LEDs built into the camera, to produce black-and-white video. | Illumination coverage, close-range brightness, reflections, and moving-subject detail. |
| Low-light color imaging | A sensitive sensor, suitable optics, and image processing to retain color with limited visible light. | Performance under the actual available light, especially when people move. |
| White-light-assisted color | Visible illumination from suitable camera lighting or other fixtures. | Light coverage, glare, activation behavior, and whether the lighting is appropriate for the property. |
A low-light color camera still needs visible light for a conventional color image. Infrared illumination can support a day-and-night camera when the scene is dark, but its black-and-white image does not preserve normal clothing or vehicle colors. Materials can also reflect infrared differently, so a light-looking jacket in night mode is not reliable evidence of its daytime color.
If color is important, test the proposed camera with the lights that will actually be used. If discreet illumination is the priority, assess whether infrared delivers the required detail without adding visible lighting.
Why Infrared Range Is Not Identification Distance
An advertised infrared distance describes illumination capability under stated conditions. It does not establish that a person’s face will be identifiable at that distance.
The lens and viewing angle determine how much of the scene fits into the image. Covering a wider area generally gives each distant subject a smaller share of the available pixels. Lighting, focus, movement, and recording quality also affect the usable detail.
Compare cameras at your intended viewing distance and field of view. A tighter entrance view may deliver more relevant detail than a single wide view of the entire property. Higher resolution can help a suitable design, but it does not compensate automatically for poor lighting or motion blur.
Low-Light Camera Performance: Check Moving Subjects
Longer exposure lets a camera collect more light, but a person can move during that exposure and appear blurred. This is why a clear parked vehicle or empty porch is an incomplete demonstration of night performance.
Frame rate and exposure time are different controls. Recording more frames per second does not, by itself, make each moving subject sharp. Exposure settings must balance available light against the movement the camera needs to capture.
Increasing gain can brighten an image while introducing more noise. Image processing can reduce visible noise, but the final test remains whether useful detail survives in the recording. Avoid choosing settings solely because they make a live view brighter or smoother.
Ask the installer to demonstrate a person walking at a normal pace through the important part of the view. Review playback and paused frames from that recording. There is no universal shutter setting that suits every camera, subject distance, and lighting condition.
Manage Reflections, Glare, and Wet Surfaces
Nearby walls, soffits, foliage, or other objects can reflect infrared light back toward a camera. With dome cameras, contamination or water on the cover can also contribute to haze or reflections. A camera mounted close to an obstruction may need a different position or illumination arrangement rather than more infrared power.
Placing an infrared camera behind a window can create a particularly strong reflection from its own illuminator. If a through-glass view is unavoidable, evaluate a suitable lighting and camera arrangement at night instead of assuming an indoor test proves exterior coverage.
Bright porch fixtures and vehicle headlights create a separate challenge: a dark subject may appear beside an overexposed area. Wide dynamic range, or WDR, can help manage contrast, but its results depend on the scene and camera implementation. Test movement with the feature configured rather than selecting equipment by a WDR number alone.
For an outdoor installation, include a check under representative wet conditions when practical. Review the subject area, reflective paving, and the camera’s exposed viewing surface. Also assess any light spilling toward neighboring windows or areas outside the intended view.
A Practical After-Dark Acceptance Test
Use the following test sheet for each important night view. Agree on the expected result before testing so a bright image does not become the only acceptance criterion.
| Test | Action | Record the result |
|---|---|---|
| Normal overnight conditions | Use the lighting schedule that applies after occupants leave or exterior lights switch off. | Whether the required subject area remains visible. |
| Near and far movement | Have a willing participant walk through the agreed capture locations at a normal pace. | Which locations preserve the required detail and which need adjustment. |
| Changing light | Test motion-activated fixtures and normal sources of glare where relevant. | Whether important activity is lost during lighting or mode changes. |
| Recorded evidence | Retrieve the clip from the recorder and export a sample for the intended review device. | Playback quality, timestamps, and whether the complete relevant event is present. |
Use the configured recording stream and normal recording settings. A demonstration using a different live stream or temporary lighting may not represent the footage you will retain.
For event-based recording, confirm that the clip includes the necessary approach and departure. Where pre-event or post-event recording is supported and required, test its operation rather than assuming an alert means the entire event was saved.
Example: A Porch That Looks Clear Until Someone Walks Past
Consider an illustrative entrance with a warm porch lamp, a dark approach path, and an infrared camera under the eave. The empty view looks clean, but a walking person’s face becomes blurred. This is a planning example, not a claimed CamNetLink project.
First, check the recorded stream and exposure behavior. Next, assess whether the lamp illuminates the person at the capture point or mainly lights the door behind them. Then check whether the eave enters the infrared beam and creates a bright reflection.
The appropriate solution might involve exposure adjustment, a better capture position, suitable lighting, or different equipment. Make one considered change at a time and repeat the walking test. Replacing the camera with a higher-megapixel model without diagnosing the cause may leave the problem unresolved.
What to Ask Before Approving a Proposal
For Night Vision Security Cameras Seattle projects, request a scope that connects equipment choices to the agreed after-dark result. Useful questions include:
- Which cameras will use infrared, color, or a combination of modes?
- What lighting is assumed, and who is responsible for providing it?
- Where will each camera capture the required subject detail?
- Are mounting changes, cabling, recording configuration, and lighting work included or separate?
- How will night testing be completed if installation finishes during daylight?
- What happens if the agreed test identifies a view that needs adjustment?
CamNetLink lists night vision cameras among its security camera and system installation services. Confirm suitable equipment, included work, and the testing arrangements in your property-specific estimate.
Frequently Asked Questions
Is color night vision always better than infrared?
No. Color can provide useful descriptive information when sufficient visible light is available. Infrared may be more appropriate when visible lighting is limited or unwanted. Compare recorded results for the actual task.
Will a 4K camera fix blurry night footage?
Not automatically. Resolution affects available image detail, while exposure, lighting, focus, and subject movement affect whether that detail is usable. Diagnose the recording before selecting a replacement.
Can a camera record through glass at night?
It may, but reflections can make the footage unusable, particularly when the camera’s infrared light reflects from the window. Assess the complete arrangement after dark; an exterior-rated camera in a suitable outdoor position may be a better option.
Should I replace an existing camera with poor night footage?
First check its view, lighting, cleanliness, focus, recording settings, and exposure behavior. Replacement is appropriate when the equipment cannot meet the required result after suitable adjustments have been considered.
Plan a Night View You Can Verify
Prepare a list of the locations that matter after dark, the detail you need, and the lights that remain available. Ask for a design and recorded demonstration that address those conditions.
Contact CamNetLink to discuss your night camera installation requirements, or call (206) 886-4953.